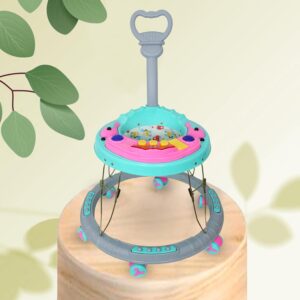
Introduction: Why Learn How to Assemble a Baby Walker at Home?
Learning how to assemble a baby walker at home might sound intimidating—but trust me, it’s a lot like building IKEA furniture.only way more rewarding and with fewer leftover screws (hopefully). Doing it yourself not only saves money but also gives you complete control over your baby’s safety. You’ll understand the structure, spot any defects, and feel confident knowing it was done right. So, let’s walk through this simple guide on how to assemble a baby walker at home without losing your mind—or your screwdriver.
Things You’ll Need Before You Start
Before you even lay hands on that box, let’s get ready. You don’t want to be halfway through and find you lack a screwdriver or Allen key. Consider this your pre-game stretch.
Tools Checklist
- Flathead screwdriver
- Phillips screwdriver
- Allen wrench (some models come with one)
- Clean towel or mat to work on
- Scissors or box cutter (for packaging)
Safety Gear (Yes, Even for Adults!)
- Gloves (optional, but useful)
- Reading glasses (in case you’re like me and squint at small print)
- Patience (not optional)
Unboxing the Baby Walker
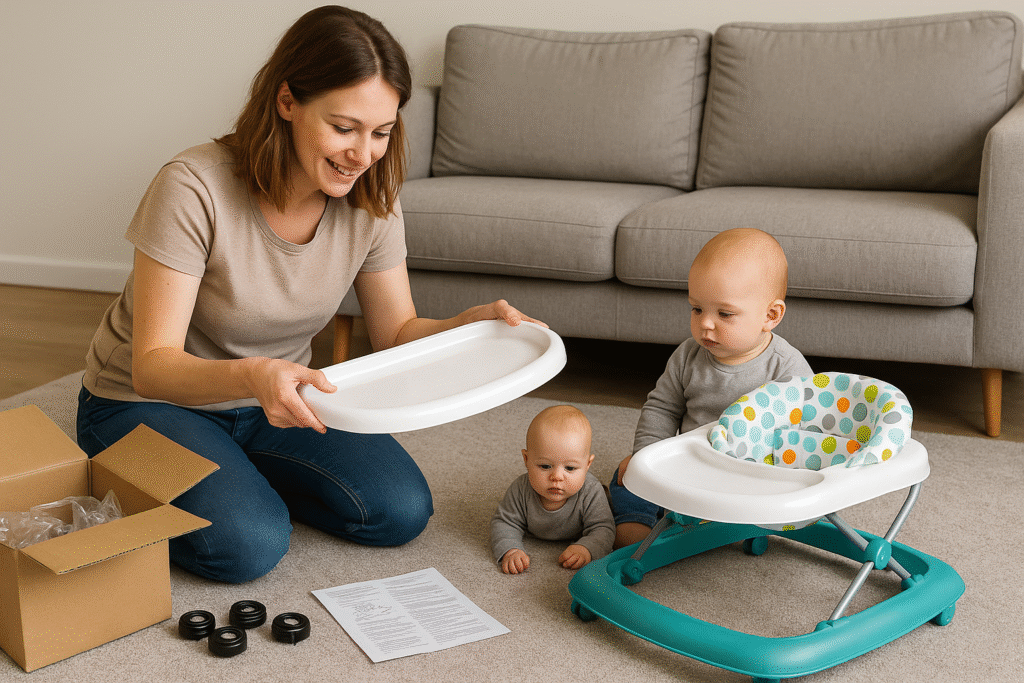
Before we get into how to assemble a baby walker at home, let’s talk about unboxing it properly—it’s the first step to ensuring you don’t lose parts or miss anything important.If you’d like a visual demonstration, check out this YouTube video.
Missing Parts Check
Many walkers include a parts list. Count and inventory everything—wheels, base frame, seat, toys, screws, tray, etc.
Tip: Lost a part? Don’t MacGyver with assorted tools—call the manufacturer ASAP.
Read the Manual (Seriously!)
I know. Manuals are not fun. But believe me—each and every brand has idiosyncrasies, and one omitted line might equate to a top-heavy walker.
how to assemble a baby walker at home
Here’s where the good times start. Read these steps sequentially, and your baby walker will be just around the corner.
Step 1: Lay Out All the Parts
The most important rule when learning how to assemble a baby walker at home? Lay out every part clearly before jumping in—organization is key.
Step 2: Attach the Base and Wheels
Turn the base over. Most walkers have slots or clips in which the wheels snap in or screw on. Press until you hear a snap. If it includes screws, tighten them good but don’t overdo it.
Step 3: Install the Seat Frame
The frame of the seat typically fits into grooves on the top of the base. Insert it and clamp it in place with any locking clips included.
Step 4: Snap on the Seat Cushion
Position the seat cushion into the frame holes. Press down firmly until each snap is secure. Give it a light tug to ensure it’s in place.
Step 5: Attach the Activity Tray (If Included)
Slide or snap the tray onto the front portion. Some designs may have under-tray locks or side-release buttons.Some designs may have under-tray locks or side-release buttons. If your walker comes with toys, sounds, or music features, you might want to check out our list of the Best Baby Walkers with Music and Toys in 2025 for setup tips and product ideas.
Tip: In case your walker features light or sound toys, ensure to add batteries first before mounting the tray.
Step 6: Lock and Secure the Height Settings
Walkers typically have height-adjustable positions. Locate the latch or button beneath the base. Set it in such a way that your baby’s feet can barely reach the floor when seated.Want to see how it works in action? Watch this YouTube video for a quick demo!
Testing for Stability and Safety
Before you put your baby into the walker, inspect it carefully.
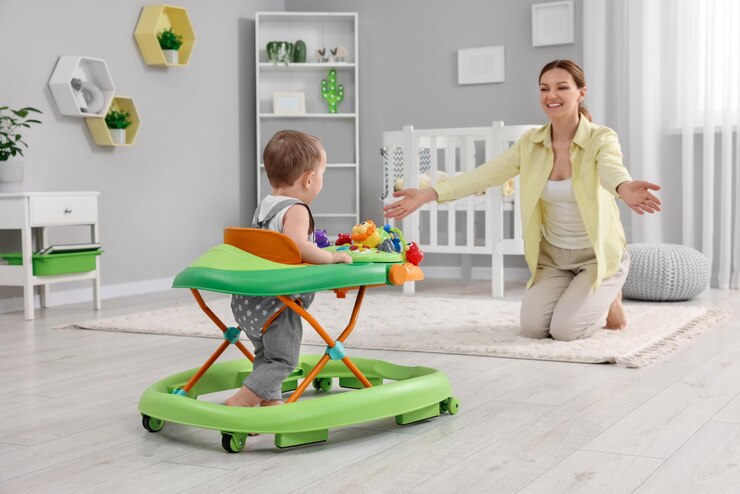
Do a Shake Test
Hold the frame and shake it gently. It must feel solid, not shaky.
Wheel Movement Check
Roll the walker on your floor to make sure all the wheels turn easily. If one is dragging, it may not be installed correctly.
Seat Security Test
Push down on the seat—firmer than your baby would. If it sags too far or rocks, double-check your snaps.
Common Mistakes to Avoid
Many people learning how to assemble a baby walker at home for the first time make tiny mistakes that can affect both safety and usability. Don’t worry—we’ve got your back.
- Forgetting to screw screws all the way in
- Omitting the step of adjusting height
- Failing to check wheel alignment
- Overlooking missing pieces or trying to force mismatched pieces
These may be small, but they can affect your baby’s comfort and safety.
Troubleshooting Tips
The Walker Isn’t Gliding Smoothly
- Look for hair or dust inside wheels
- Make sure wheels aren’t too tight
- Reinstall any stuck or dragging wheel
Tray or Seat Doesn’t Fit? Try This.
Sometimes it just needs a little repositioning. Don’t force anything. Align carefully and press down with steady pressure.
When to Call Customer Support
If:
- Parts are missing
- Any components feel loose or broken
- You’re unsure about assembly steps
Most brands have a toll-free number or email on the box. Don’t hesitate—they’re there to help.
Maintaining Your Baby Walker Post-Assembly
Cleaning Tips
- Wipe the tray and plastic parts with a damp cloth weekly
- Machine-wash seat covers if allowed (check label)
- Clean wheels regularly to avoid debris buildup
For a better visual understanding, here’s a helpful YouTube video showing the product in use.
Regular Maintenance Schedule
| Task | Frequency |
| Clean tray/seat | Weekly |
| Check wheel function | Bi-weekly |
| Tighten screws | Monthly |
| Full inspection | Every 2 months |
FAQs How to assemble a baby walker at home
1.How long does it usually take to assemble a baby walker?
Generally, it takes 20–30 minutes if all tools and parts are available. First-timers might take a bit longer.
2.Can I assemble a baby walker without a manual?
Technically, yes—but not advisable. You might miss important safety measures or put it together in the wrong way.
3.Should I use power tools for assembly?
Use hand tools. Power tools might strip the screws or break plastic components.
4.My walker wobbles after I assembled it. What do I do?
Verify whether all parts are properly locked and screws tightened. Inclined floor surfaces may also result in wobbling.
5.Do all baby walkers come together in the same manner?
Nope! Each brand and model has its own mechanism. Always use your own model’s instructions.

